 Szeto Handyman
Most returns at home stores come down to one wrong number: a blind a quarter inch too wide for the frame, a rod that stops short of the window, a box of flooring short at the last row. These helpers do the arithmetic. You still take the measurements, so the first part of each section explains how.
All numbers are in inches unless marked. The page does the math in your browser and stores nothing.
1. Blinds and shades: inside-mount order size
For an inside mount, the blind sits inside the window frame. Frames are rarely perfectly square, so measure the width in three places, top, middle and bottom, and the height in three places, left, center and right. Order the narrowest width so the blind fits at the tightest point, and the longest height so it covers the full opening.
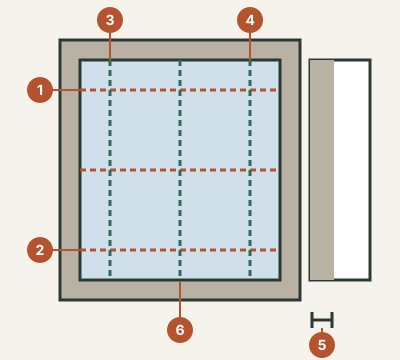
- Width at the top
- Width at the bottom
- Height on the left
- Height on the right
- Depth of the frame, for inside mounts
- Width in the middle; order to the smallest of the three
Most makers make their own small deduction for clearance, so enter the exact frame measurement and let them deduct. Check the frame depth too; shallow frames may not hold a deep headrail, in which case an outside mount is the safer order.
If the three widths differ by more than a small amount, the frame is out of square. An outside mount, which covers the frame from the wall, hides that and blocks more light at the edges. For outside mounts, decide how far past the frame you want the blind on each side and add that to the frame width.
2. Curtain rod length and height
A rod that extends past the window lets curtains stack beside the glass instead of covering it, which makes the window look larger and lets in more light. How far to extend is a style choice. Measure the window frame from outside edge to outside edge, then choose how many inches you want on each side and how far above the frame the rod should sit. Long rods need a center bracket so they do not sag; we add one on longer rods.
The result also gives the curtain length from rod to floor, which is the number to use when buying panels. Add a little if you want curtains to break on the floor, or subtract a little if you want them to float just above it, which keeps hems clean in homes with pets and kids.
3. Picture hanging: where to put the nail
A common guide is to center art at about eye level, often 57 to 60 inches from the floor to the middle of the piece. That is a starting point; tall households may prefer higher, and art over furniture is set relative to the furniture instead. The trick is that the nail does not go at the center of the frame.
It goes above the center by half the frame height, minus the distance from the top of the frame down to the taut wire or the D-ring. Pull the wire up as if hanging it and measure that drop.
For heavy pieces, use two hooks or D-rings spaced apart instead of one wire; the frame stays level and the load is shared. In earthquake country, closed hooks and a little museum putty on the bottom corners keep frames from hopping off.
4. Gallery wall or row of frames: even gaps
For a row of equal frames centered on a wall or over a sofa, decide the total width of the space you want to fill. Enter that width, the number of frames and the width of each frame, and the helper gives the gap between frames and the margin at each end, with the margins equal to the gaps. If you prefer a fixed gap, such as two or three inches, change the space width until the gap looks right.
Lay paper templates cut to each frame size on the wall with painter’s tape before drilling. Mark the nail spot on each template using the method in section 3, then nail right through the paper and tear it away.
5. Flooring: how many boxes
Measure each room’s length and width in feet and multiply for square feet; for L-shaped rooms, split them into rectangles and add. Every install loses some material to cuts, and the right waste allowance depends on the room shape and the plank layout. Check the flooring maker’s instructions for their recommendation and enter it here. The square feet per box is printed on the box or the product page.
Buy all boxes from the same production lot, and keep one or two spare boxes after the job. Replacing a damaged plank years later is easy with an exact match and hard without one. See vinyl plank flooring.
Tips for measuring
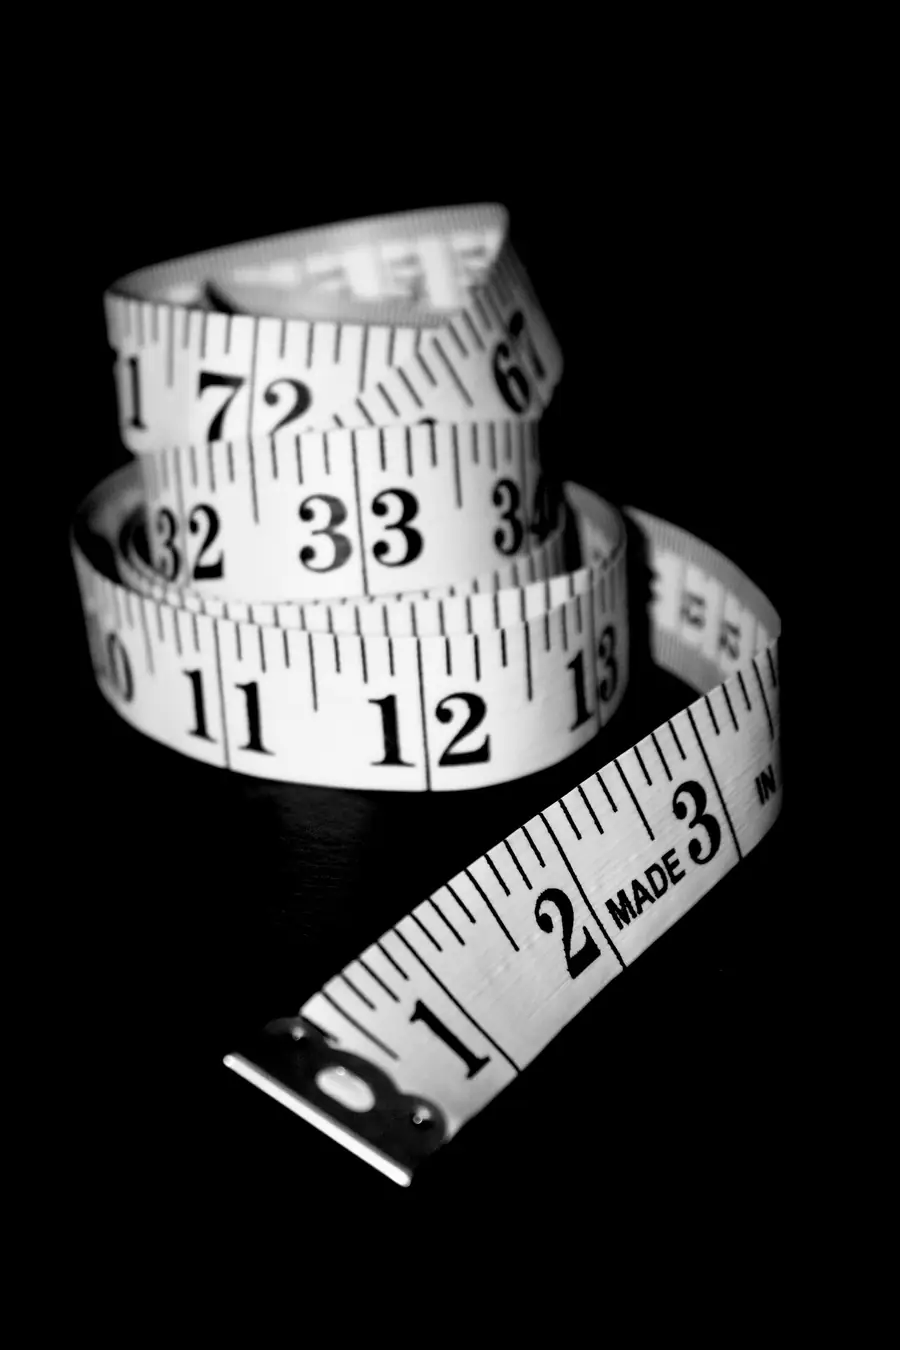
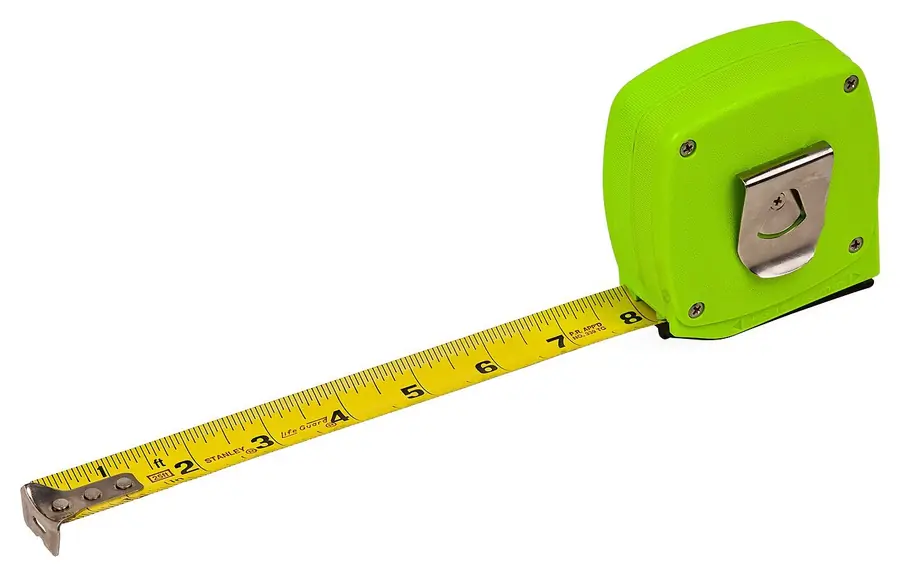
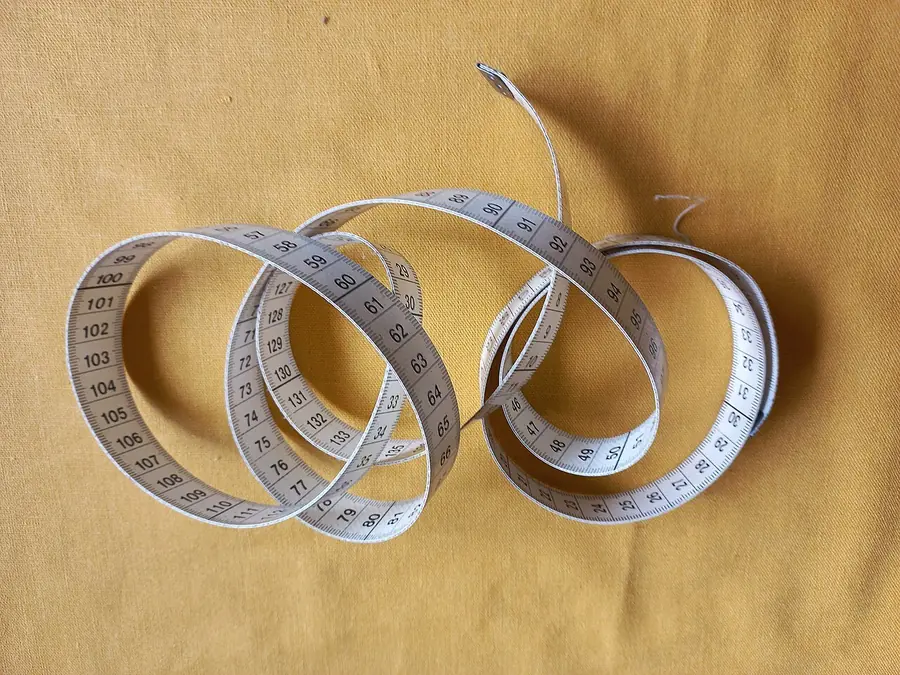
- Use a steel tape, not a cloth one, and measure to the nearest eighth of an inch for blinds.
- Write each number down with a label and the room name as you go.
- Measure twice, ideally on different days, before ordering anything made to size.
- Photograph the tape against the frame; it is a handy record if an order comes out wrong.
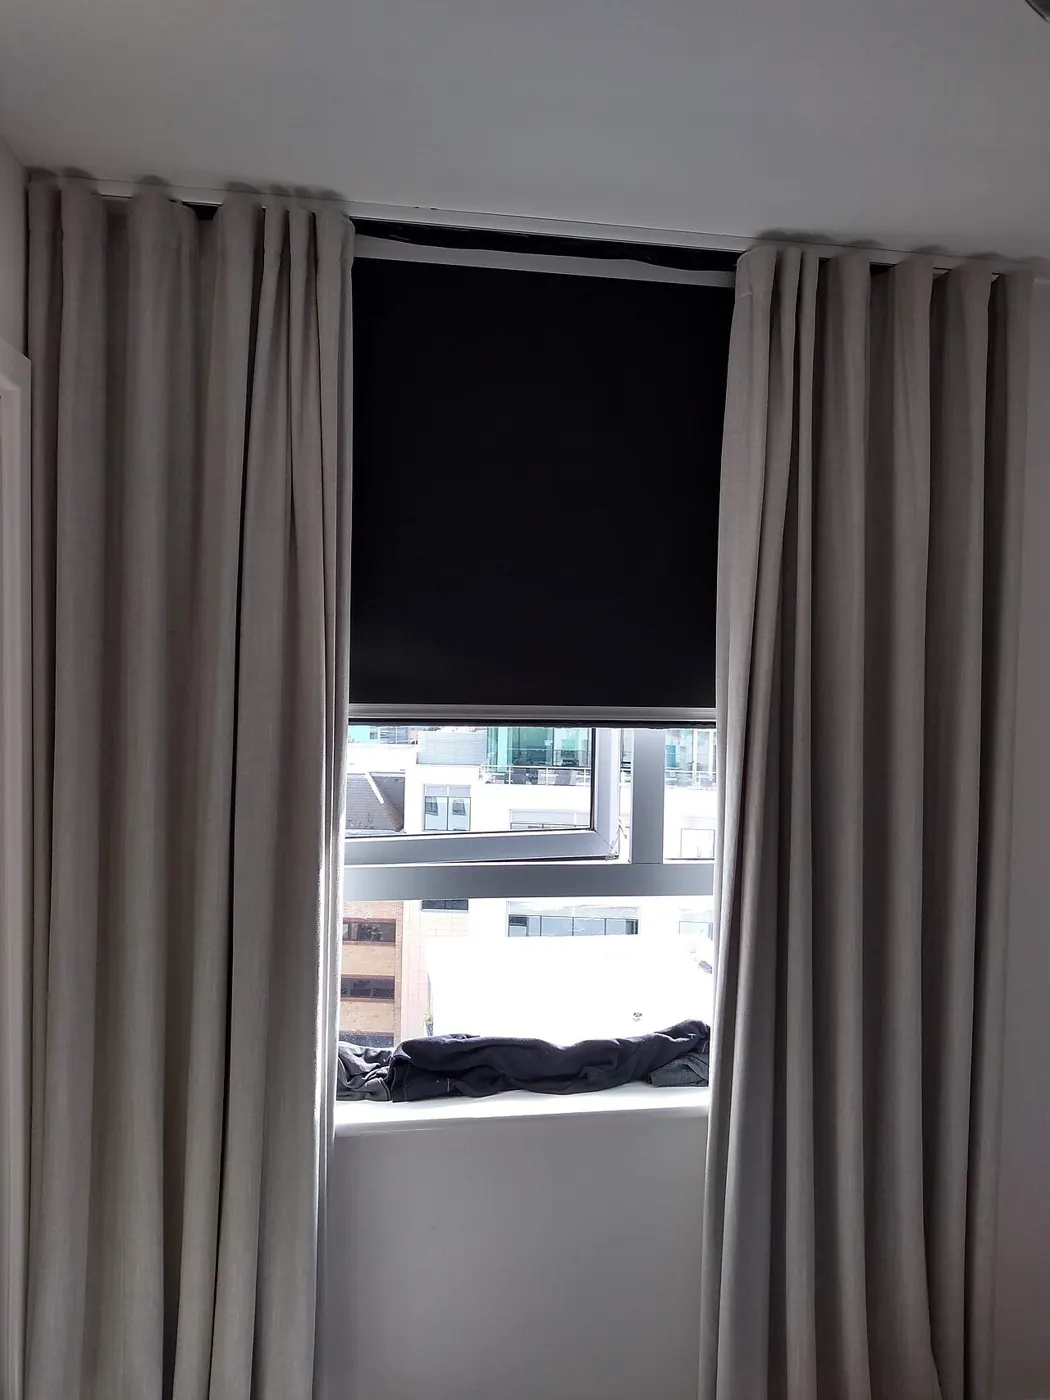
Mistakes we see most
Measuring the glass instead of the frame opening. Ordering an inside mount for a window with tiles or a crank handle in the way. Hanging art by the center of the frame instead of the wire.
Forgetting that baseboards and window sills stick out from the wall when planning a rod or a shelf. Buying flooring by the room size alone and running out on the last row. Each of these is avoided by measuring the actual opening and writing the numbers down.
When to let us measure
Made-to-order blinds and replacement windows are expensive to get wrong, and custom orders usually cannot be returned. If you would rather not risk it, we can measure during a visit and install once the order arrives. Text photos of the windows or walls and we will quote. See blinds and curtain rods, picture and mirror hanging and window replacement.